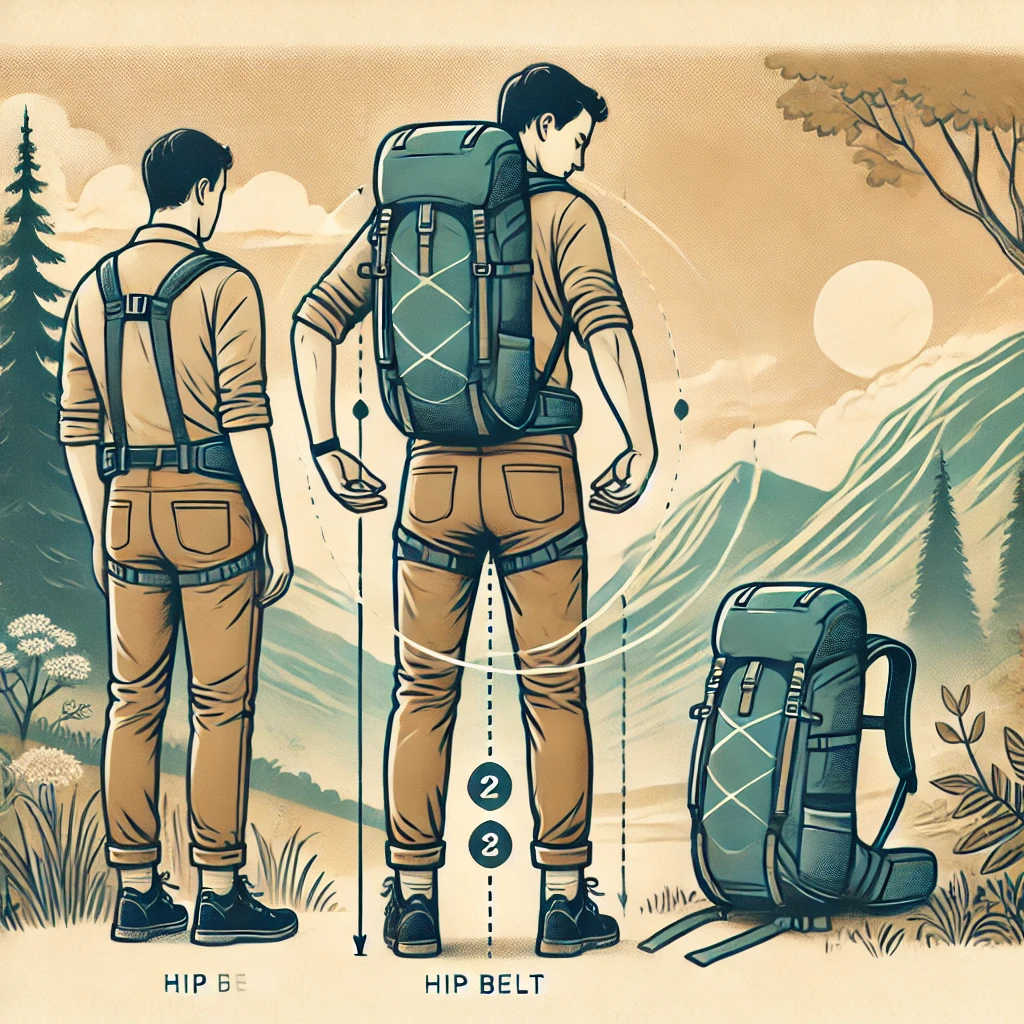
Properly fitting a backpack is crucial for comfort and safety, especially on long hikes or backpacking trips. A poorly fitted backpack can lead to discomfort, back pain, and long-term injuries. Here’s a comprehensive guide on how to fit a backpack correctly:
1. Understanding Backpack Components
Before diving into the fitting process, it’s essential to understand the main components of a backpack that affect fit:
- Hip Belt: Carries most of the pack’s weight (about 70-80%).
- Shoulder Straps: Help stabilize the pack and distribute some weight to your shoulders.
- Load Lifters: Straps located between the shoulder straps and the top of the backpack; they help adjust the backpack’s angle on your back.
- Sternum Strap: A small strap across your chest that helps stabilize the shoulder straps and balance the load.
- Back Panel and Frame: Provides structure and support, helping to distribute weight evenly.
2. Measure Your Torso Length
The most important measurement for fitting a backpack is your torso length, not your height. To measure your torso:
- Find Your C7 Vertebra: This is the bony bump at the base of your neck when you tilt your head forward.
- Locate Your Iliac Crest: Place your hands on your hips, and trace your thumbs around to the center of your back. The top of this line is your iliac crest.
- Measure the Distance: Use a tape measure to find the distance between your C7 vertebra and your iliac crest. This is your torso length.
3. Adjust the Hip Belt
The hip belt is the most critical component for carrying weight comfortably. Here’s how to adjust it:
- Loosen All Straps: Start with all straps, including the shoulder straps and load lifters, loosened.
- Position the Hip Belt: Place the hip belt over your hip bones (iliac crest). The padding should wrap comfortably around your hips, not your waist.
- Tighten the Hip Belt: Tighten the hip belt until it feels snug but not restrictive. Most of the weight should rest on your hips.
4. Adjust the Shoulder Straps
Once the hip belt is correctly positioned, adjust the shoulder straps:
- Pull the Straps Downward: Gently tighten the shoulder straps by pulling them down. They should be snug but not carrying the pack’s weight.
- Strap Positioning: The straps should contour your shoulders without gaps. The anchor points (where the straps attach to the backpack) should sit 1-2 inches below your shoulders.
5. Set the Load Lifters
Load lifters help angle the pack closer to your body, improving balance and comfort:
- Adjust the Angle: Tighten the load lifters so they form a 45-degree angle between the backpack and your shoulders.
- Fine-Tuning: Adjust until the pack feels stable without pulling too tightly.
6. Fasten the Sternum Strap
The sternum strap stabilizes the shoulder straps and prevents them from sliding sideways:
- Position the Strap: The sternum strap should sit about an inch below your collarbone, not too high or too low.
- Tighten Gently: Secure the strap without constricting your chest. This helps keep the pack balanced.
7. Make Final Adjustments
- Check for Comfort: Walk around with the backpack and make small adjustments to the straps as needed.
- Distribute Weight Evenly: Make sure the pack isn’t leaning to one side. Load heavier items closer to your back and at the middle of the pack.
8. Test the Fit with Weight
Finally, load the backpack with weight similar to what you would carry during a hike. Repeat the fitting steps, as the added weight can alter how the backpack sits on your body.


